• Let’s talk rhubarb!

    When we were kids, my mom used to bake the most amazing strawberry rhubarb pie in the summer. She sugared the crust and the tart but sweet treat didn’t stand a chance, especially when served with vanilla ice cream. We didn’t understand that rhubarb was a summer thing, we just knew it was delicious and would beg her to make it on a monthly basis. If we were lucky, she would freeze one extra pie for later in the year. And it would easily brighten any cool gray day. Now that I’m all grown up, I make a mean (yet very pretty) rhubarb gin.

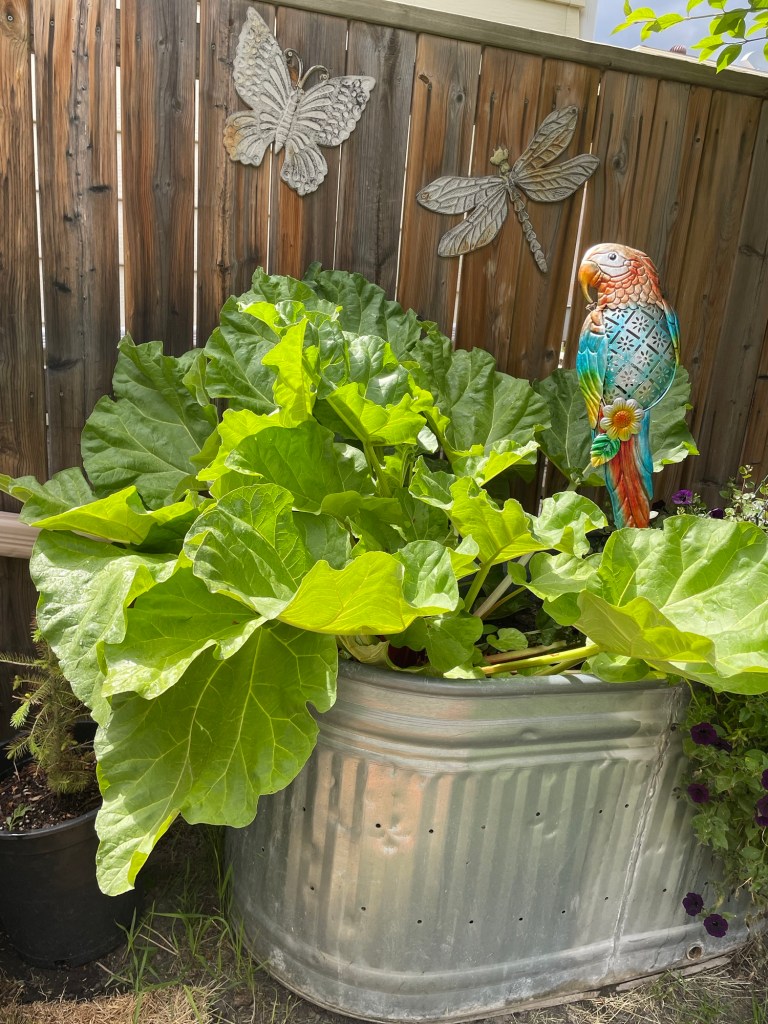
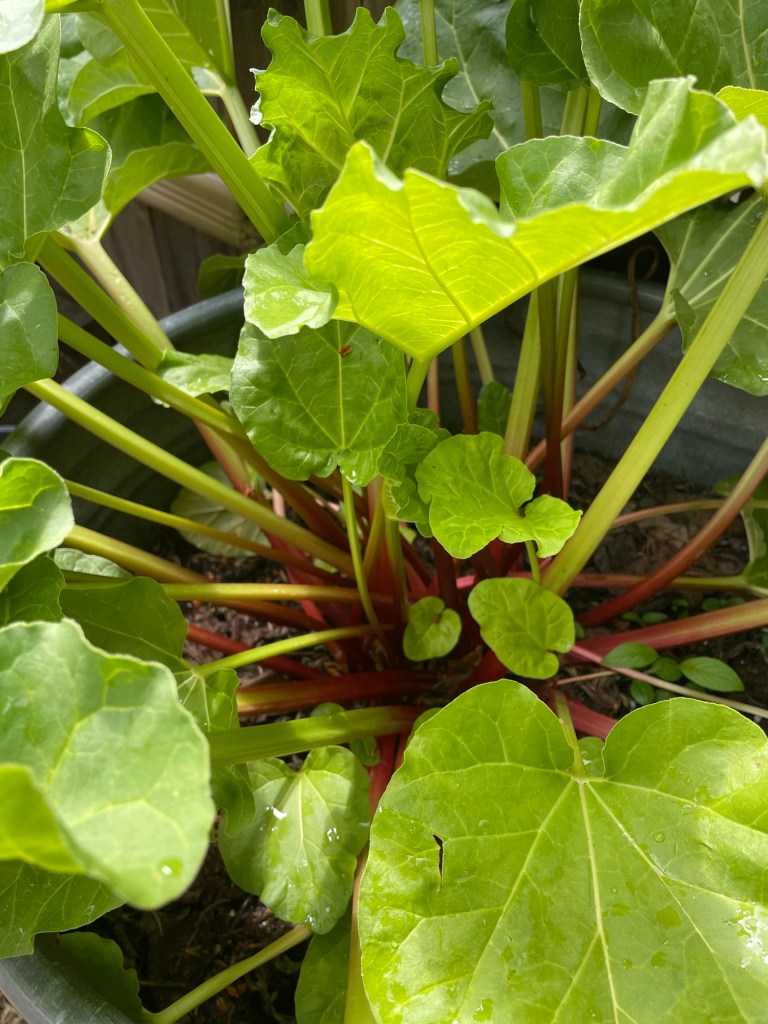
    Seasoned gardeners will tell you that once you have rhubarb in your garden, you will never get rid of it. In fact, it’s one of those very hardy perennials that will take over a very big space. I honestly love the huge green leaves, looking like a tropical ancient celebrating its Jurassic era.

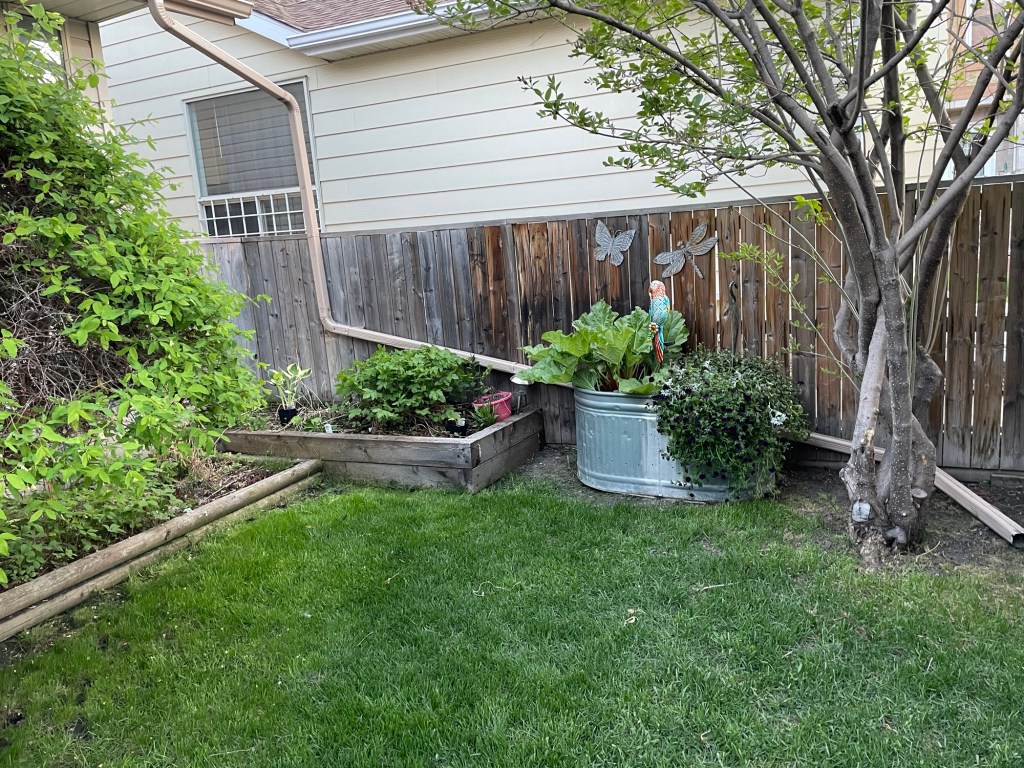
    It has a very deep tap root and even an overzealous weed whacker/edge trimmer won’t take it out for long. So when I wanted to grow it in my backyard, I took a chance and planted it in a galvanized steel horse trough. Yep, you read that right. My husband humoured me, and we brought one home from his aunt’s ranch just east of Calgary. Plunked it along the west side fence, and gave it a go. It has drill holes in the bottom and sides for drainage, and gets shade in the later afternoons and evenings. I love it. It’s probably not to everyone’s taste, but it’s kinda quirky, and it replaced a huge old rotting steamer trunk that I’d had there previously. What’s your most favourite “salvaged” planter? Someone in my neighbourhood this year is using toilets in their front yard. But I digress.

    My rhubarb in his Early Summer Jurassic Era and Gabe the Parrot.

    I could have probably gotten a division from a local gardener for free, but instead I grew it from seed. I started it indoors one early March. And has it ever grown over the years! Every spring I wonder if it will come back, as Calgary’s winter freeze/thaw Chinook cycles and minus forty degree temperature drops are notoriously hard on even our native plants. And especially in a raised metal bed. But he’s tenacious like his reputation, and keeps coming back every year. A little later in spring given his shady spot compared to sunnier locales, but always bigger and more glorious than ever.

    He really doesn’t like a lot of attention, and I find with his spot he doesn’t need a lot of water until it’s the height of summer. There was one year I had ants farming black aphids on his more tender leaves but I gave them a little hosing and away they went. Sorry ants, but I do like my gin.

    Rhubarb Tips

    1. Do not harvest in the first year. Let it establish itself and do its root plant thing.

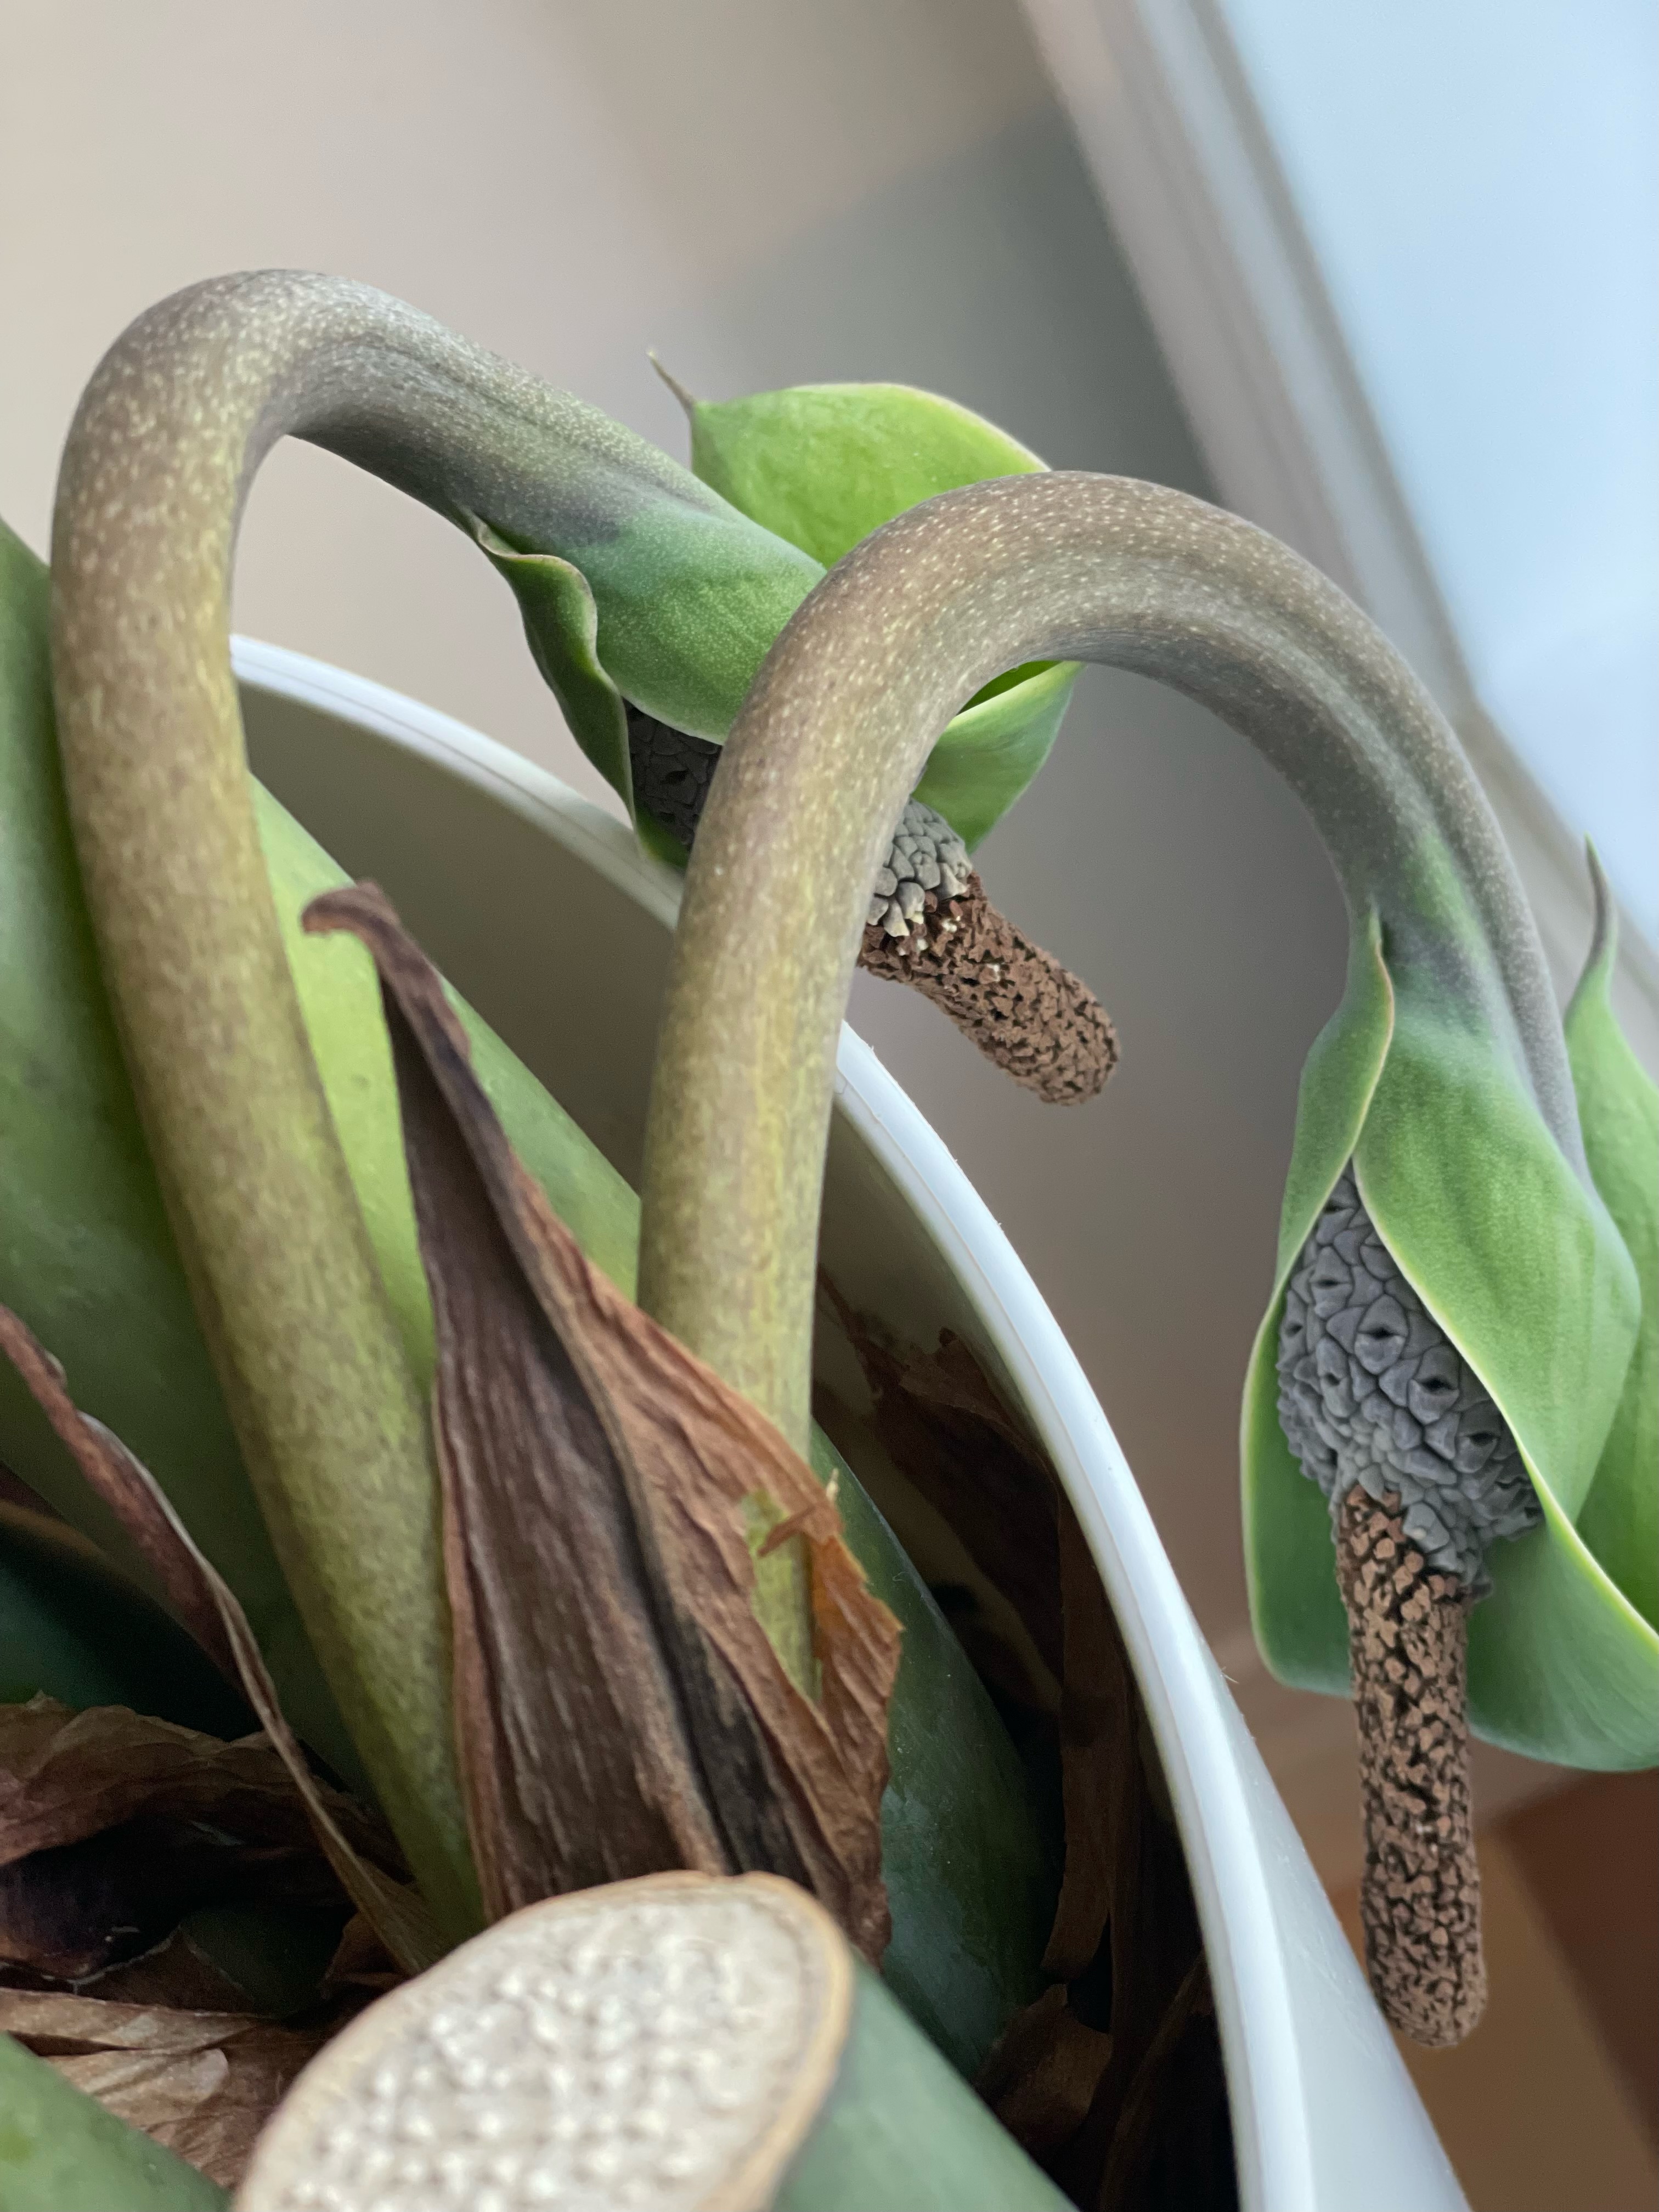
    2. If your plant throws up some strange-looking flower stalk, (you may think it’s a weird mutilated alien head at first), simply pull it out if you’re planning to harvest a lot of it that year. If you just want it as an ornamental, let it do its plant thing. Plants be plants. It’s still going to come back next year. It’s just going to concentrate on the flowers and seeds versus huge leaves for you.

    3. Choose the brightest, happiest stalks for harvesting. Green stalk is ok to eat, but just not as tasty, nor as pretty.

    4. When harvesting, grasp and pull the stalk close to the base of the plant, don’t cut, don’t twist. It should separate pretty easily. The reason we do this? Because when you pull, it pulls the full stalk out from the base at the crown of the plant, where it will close and heal easily. Cutting leaves a portion of the stalk open and vulnerable to rot and disease. He is a tough but sensitive plant in some ways. (I know I mentioned weed whackery earlier but you do want to keep it healthy and growing consistently if you’re going to be eating it).

    5. I’ve kept stalks in the fridge for up to a week, just be sure to trim the leaves off before storing. You can also freeze for later use if you’re unlike me and won’t forget about them until suddenly it’s November and you’re cleaning your freezer out and oh what the heck is this?

    6. I usually harvest up until mid-summer. The stalks get woody and more bitter the older they get. After that I let it alone, so it can prep itself for fall and winter.

    7. Winter preparation: once the leaves have died back in the fall I pull them away and throw them in the compost bin. The planter then gets a new layer of mulch and that’s that!

    8. *Ruhbarb leaves are toxic to both humans and animals due to their high concentration of oxalic acid. Always cut the leaves off the harvested stalks. Stalks have a lower amount of oxalates (you can eat them raw, but oh so tart!) and cooking will further reduce the levels. If you have kidney stones or liver troubles, it’s recommended to avoid rhubarb.

    9. Did you know: the high tannin in rhubarb can be good for digestion alongside the fiber it delivers? Just don’t have it every day for weeks on end. You can have too much of a good thing. 😛
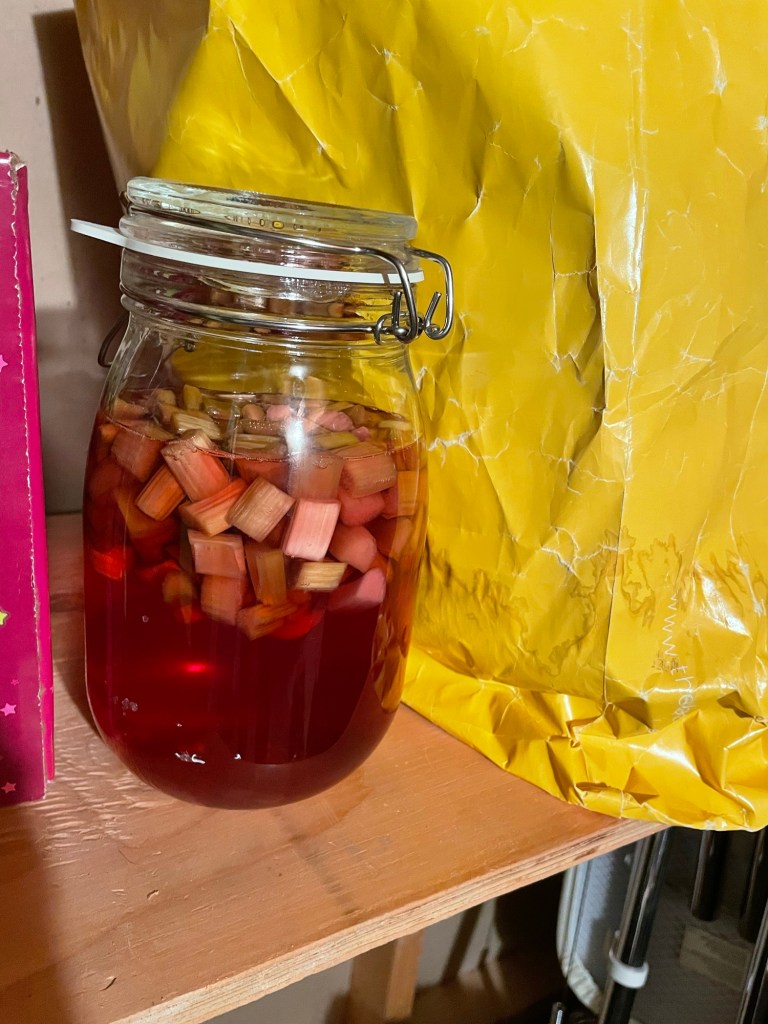
    Rhubarb Gin

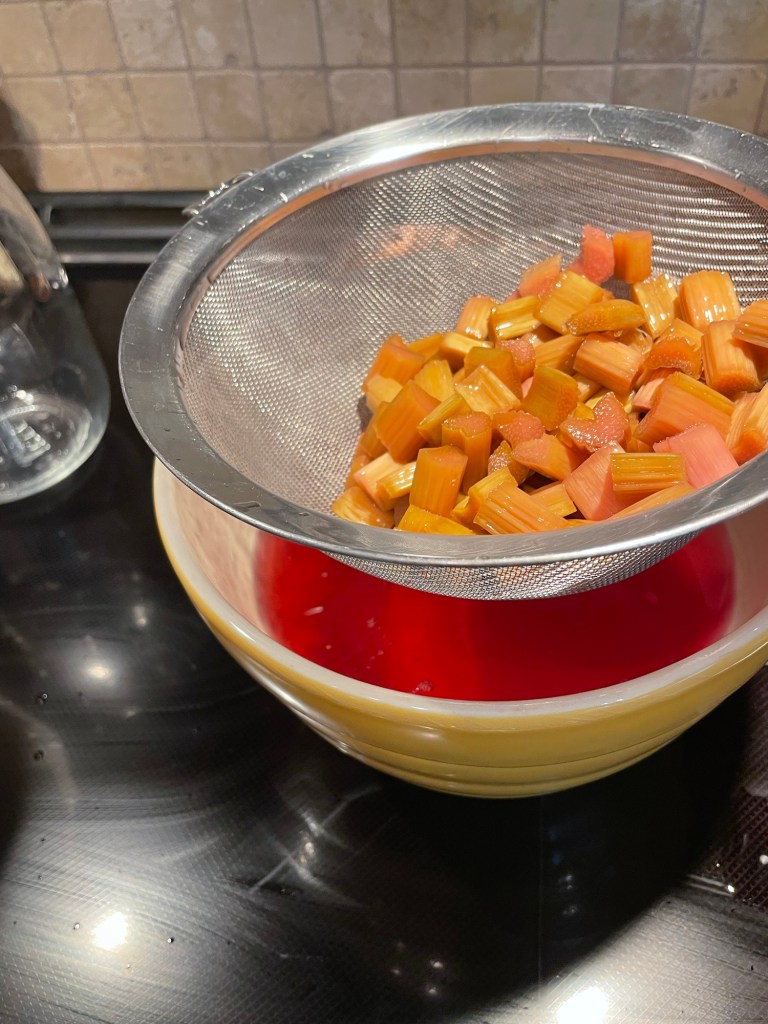
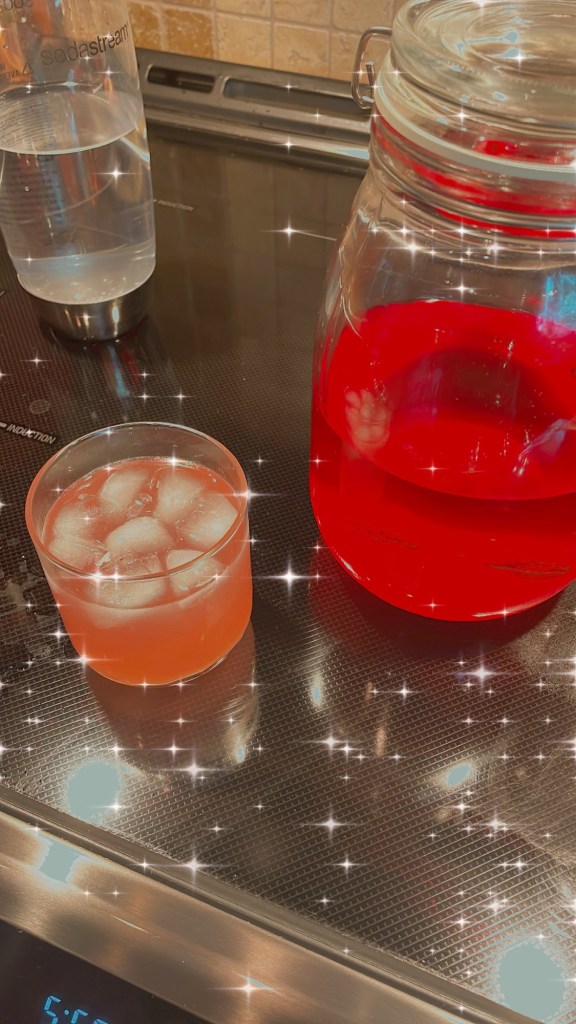
    I follow this recipe, Rhubarb gin recipe | Good Food, and it’s never let me down. It’s a fun, easy little weekend project to get it going. Just remember to set a reminder in your phone for when to strain it. You can source berry sugar from your local grocery baking section. Because of the sugar content, I serve it with soda and a twist of lime. The beautiful pink colour will fade eventually, so don’t let it sit on your counter or in your cabinet for too long. Besides, it’s a summer thing!

    Happy beginnings!
    I choose a cheaper gin, since we are making it so much extra.
    Swishy swishy!
    Cool dark basement sitting, doing its thing. I suggest labeling it with either the start date or the strain date, just in case.
    I honestly don’t do anything with the strained pieces – but could you candy them? 🤔
    Just missing a lime wedge – ENJOY!

    If you have a recipe for strawberry rhubarb pie, please pass along. My mom lost hers.

  • Water Conservation in Calgary: Practical Gardening Tips for Drought Conditions

    As I write this, we are a week into water restrictions in my city. The restrictions are not due to drought, but rather to a large water main break. The impact on the immediate communities is profound. The surrounding areas suffered flooding and the subsequent shut off of their water. While limited services were quickly restored, they still lack potable water and the rest of Calgary has been asked to limit their showering, laundry, and even maximizing water use when washing dishes. Absolutely no watering of gardens with Calgary supplied water is allowed. A housefire last night in my neighbourhood emphasized the need to save water for essential services. Thankfully, no one was hurt in the fire and it was put out before it spread to adjacent houses.

    A lot of Calgary gardeners were already prepared for drought-like conditions this summer – we received plenty of warnings this past winter. Last summer was very hot and dry, and the smell and haze of forest fires from the north and west of us caused frequent air quality warnings. So we’ve been planning and plotting. (Yes, that was an intended pun).

    Here’s my favourite tips for those looking to make their gardening a little more water-wise:

    • Rain barrels. They don’t have to be fancy! But:
      • Choose a solid dark colour one if you can, as lack of sunlight discourages algae growth. Is algae bad? Well…it stinks. It can clog the valves, and it’s really not considered an organic fertilizer. I personally don’t want to water my carrots with it.
      • Make sure the top has a tight mesh seal on it to prevent mosquitos from gaining access and making it their hatchery.
      • Take it a step further!
        • Attach some dripline off your rain barrel to run the length of your garden when it needs a little soak.
        • My husband is a genius and has run a full misting system off our rain barrel into our greenhouse. I’ll post a separate blog on this. I love it.
      • It is more time-consuming with the back and forth, but hey, think of it as adding more steps to that step-counter.
      • *There’s advice out there to stop watering plants from the rain barrel a couple weeks before harvest. I’ve not researched this fully and so can’t comment on it.
    • Mulch.
      • There’s lots to choose out there, from organic to large wood chunks. Honestly, anything is better than nothing, but don’t just choose on aesthetics. Black may look pretty, but remember, it’s going to get hot in the sun. Likewise, that natural red cedar is going to fade over time. Do a bit of research of what will suit your type of garden best. (Check out Calgary Horticultural Society’s pages or, the University of Saskatchewan has some good tips).
      • When you first apply it, make sure the garden bed is already watered (stick a finger in there and check the depth lol). Then spread the mulch and water again.
      • Don’t put a wee layer down. Make it at least an inch or two to be effective. It’s not as expensive as that fern-leaf peony you’re coveting…depending on the size of garden bed, of course.
      • Leave some space around or under the plant. Having damp mulch touching the leaves of your plants can cause issues like mildew and the spread of certain disease, fungus, etc.
    • Choose drought-resistant plants.
      • These can be native or non-native! Perennial or annual! And there’s lots out there that are pretty.
      • Remember: If you’re buying a perennial, it doesn’t matter if it’s labelled drought-resistant or water-smart. It will still need plenty of water at planting to get it established.
    • Location location location!
      • When picking out your garden plants, we usually check to see if they are full-sun, partial shade, and so forth. But take it a step further. How does the mature height of neighbouring plants work in your garden? Do your tomatoes as they grow provide afternoon shade to the sensitive basil growing beneath in the peak of summer? (I’m currently making spaghetti sauce, so pardon the example for this point).
      • Can the decorative flowers that need a lot of water be placed where they get only morning sun, and miss the afternoon heat spike?
      • When you are first planting in the garden bed, also think about how or where the natural run off of water is going to be. Does it slope? Can you create a little version of a ‘swale’ to guide the water where it needs to go? I like to create a very shallow bowl around my perennials to trap a bit of water in my south-facing garden bed when it rains, allowing more water to absorb where it’s needed. (Not too deep, though – most plants don’t like to swim!)
    • Water wisely:
      • Water in the early mornings or early evenings-before or after the heat of the day. It may be tempting when you see your zucchini leaves drooping, but you’ll soon discover it’s a drama queen, and it can wait for it’s (compost) tea at a later hour.
      • I prefer mornings, especially in the later season, as too much damp and cooler night temps encourages fungus/mould. Blah.
    • Save and use your grey water and aquarium water. It sounds ick, but for your lawn and trees, it’s ok!
      • Mental note: If you have a softwater system, DO NOT save your shower water. Those kind of salts are NOT good for any plants. Sigh.

    So there you have it! What are your favourite tips?

  • Let’s start at the beginning.

    A long time ago, in a much smaller Calgary, AB, a child was born on a cold, snowy January day. Just kidding. I don’t know if it was actually snowing.

    Anyways, I wasn’t always into plants. I definitely wasn’t, and still am not, outdoorsy. My childhood allergies in spring and summer often kept me home in the cool, dark basement, watching Canadian game shows like Bumper Stumpers and the soap opera saga of Marlena’s possession on Days of Our Lives. I wasn’t lying, I am that old. My childhood was like most: happy, average, maybe sprinkled with a few more books than your normal kid.

    My first plant was a housewarming gift from my future mother-in-law, with her saying, “This one is very difficult to kill.” It was a ZZ plant, and I still have it today. It’s tall and it needs propping up, but it’s still green and over the past couple years it’s even started to produce flowers. Perhaps a symbol of my life, if I wanted to create some metaphors out of that.

    My second plant was a Thanksgiving cactus. Also a gift, this one from my Dad. And he, too, said, “This one is very difficult to kill.” It is still alive, carrying on my Dad’s faith in me. And every time it starts blooming in late October, I think of him.

    The plants started multiplying, inside and eventually outside. Usually in late February a new one appears in the house as I fight the endless brown, grey and white of chill prairie winters and long for more vibrant colours. It’s also prompted by a visit to the local greenhouse for seed starting supplies. The draw to the tropical plant section is irresistible. April snowstorms bring in bouquets of cut flowers while I care for the tender seedlings that have taken over the basement. May showers grow plans of garden bed planting and the opening of my little hobby greenhouse in the backyard while I transition the babes to their new home. In the summer there’s a worn path from the kitchen out to the garden to gather sprigs of herbs for cooking (or mojitos) and in the fall I’m posting pictures of winding up the garden and putting it all to rest.

    I’m writing these pages to share my love of plants. I’m definitely no pro, but I’ve taken a few courses and I love to write. Welcome to Andrea’s Path to Plants. Or, Andrea’s Plants for short. 😉